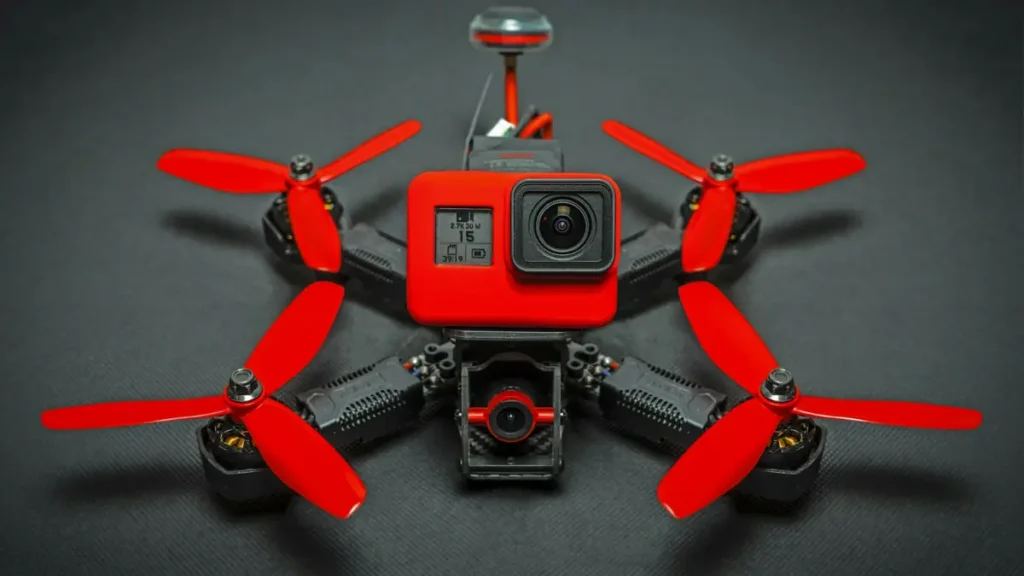
Building a drone from parts teaches you how every piece works and lets you repair it yourself. It’s the standard route into FPV flying. It’s not the cheapest way to get a camera drone, though; ready-made models usually win on price and ease for aerial photography.
Parts list for a typical 5-inch FPV quad
| Part | What to look for |
|---|---|
| Frame | Carbon fiber, sized for your propellers (e.g. 5-inch) |
| Motors (x4) | Brushless, sized and rated (KV) to match props and battery voltage |
| ESC | 4-in-1 board rated for your motors’ current |
| Flight controller | Runs open-source firmware such as Betaflight or INAV |
| Radio receiver + transmitter | Matching protocol (e.g. ExpressLRS) |
| FPV camera + video transmitter | Analog or digital system, with goggles to match |
| Propellers | Correct size and pitch; buy plenty of spares |
| LiPo batteries + charger | Cell count (e.g. 4S or 6S) matched to motors |
| GPS module (optional) | Enables GPS rescue/return functions |
| Remote ID module (if 250 g+) | FAA-declared broadcast module, unless flying at a FRIA |
Tools you’ll need
- Temperature-controlled soldering iron, solder and flux
- Hex drivers, nut drivers, zip ties, heat shrink
- Multimeter and a “smoke stopper” (current-limiter) for first power-up
- A computer to configure the flight controller
The build process (overview)
- Assemble the frame and mount the motors.
- Solder motor wires to the ESC and the battery lead.
- Stack the flight controller on the ESC and connect the receiver, camera and video transmitter.
- Power up with a smoke stopper and check for shorts.
- Configure the firmware: receiver, motor direction, flight modes and failsafe.
- Bind your radio and test everything with propellers off.
- Fit props (check direction) and do a short hover test in an open area.
Legal requirements for home-built drones
- Registration: required if it weighs 250 g or more (FAA).
- Remote ID: home-built drones 250 g+ can comply with a broadcast module or by flying only at a FRIA (FAA Remote ID).
- Line of sight: FPV goggles don’t count; you need a visual observer. See FPV flying.
- Radio rules: some video transmitters use amateur radio frequencies or power levels that require an FCC amateur license. Check your equipment.
- Parts availability: since December 2025, new foreign-made drone critical components can’t get FCC authorization, though previously authorized parts can still be sold (FCC FAQ). Expect some parts to be harder to find.
Should a beginner build first?
If you mainly want photos and video, buy a ready-made drone (beginner picks). If you want to fly FPV and enjoy tinkering, practice on a simulator first, then build. See how drones work for the theory.